Installing Skudonet Community Edition on Debian 12
Skudonet Community Edition (CE) is a powerful, open-source load balancer designed to provide high availability, security, and performance for your services. Whether you’re building a high-availability web platform or experimenting in a lab, Skudonet CE is a solid and user-friendly option.
In this article, you’ll learn how to install Skudonet CE on Debian 12 and get started with its intuitive web interface.
🔍 What is Skudonet CE?
Skudonet Community Edition is based on the Load Balancer Enterprise Edition project (formerly Zen Load Balancer). It’s suitable for Layer 4 and Layer 7 load balancing, offers SSL offloading, includes a built-in WAF, and is manageable through a modern web GUI.
⚙️ System Requirements
Before we begin, ensure your server meets the following minimum requirements:
- Operating System: Debian 12 (Bookworm)
- CPU: 2+ cores
- RAM: 2 GB or more
- Disk: 20 GB free space
- Network: At least 1 interface
🚀 Step 1: Update Your System
Start by updating your system packages to the latest versions.
1
sudo apt update && sudo apt upgrade -y
Install essential packages:
1
sudo apt install curl gnupg2 -y
🗃️ Step 2: Add the Skudonet APT Repository
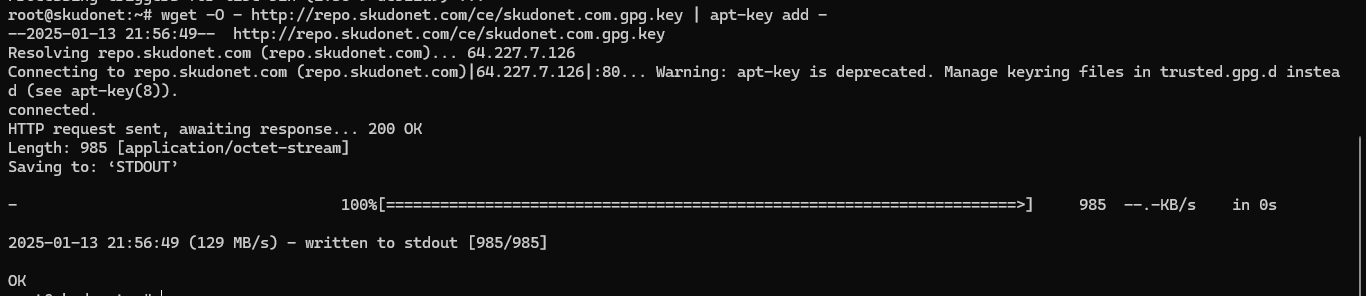
Import the repository GPG key:
1
curl -sSL https://packages.skudonet.com/ce/debian/public.key | sudo tee /etc/apt/trusted.gpg.d/skudonet.asc
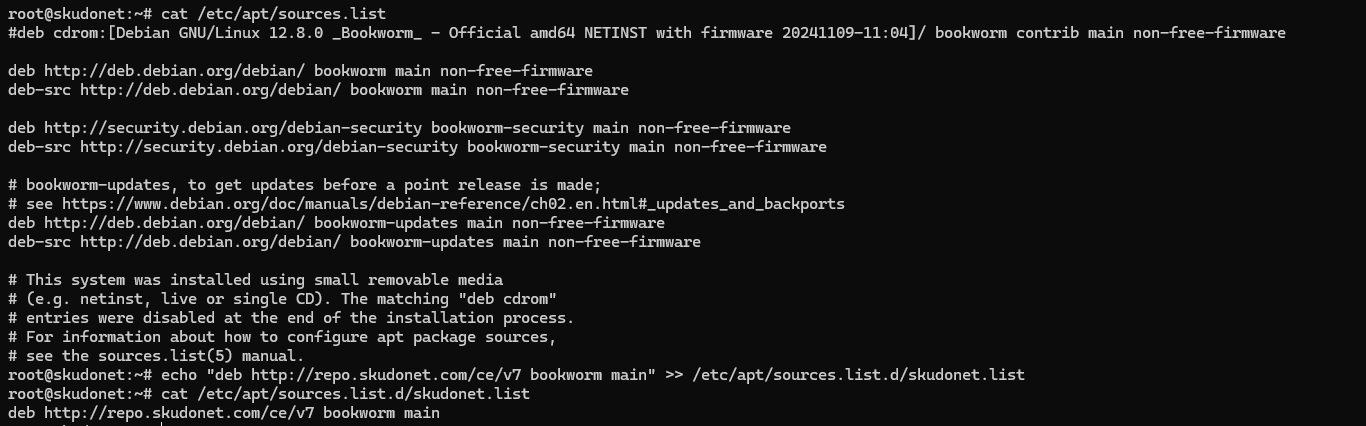
Add the Skudonet Community Edition repository:
1
echo "deb [arch=amd64] https://packages.skudonet.com/ce/debian bookworm main" | sudo tee /etc/apt/sources.list.d/skudonet.list
Update APT:
1
sudo apt update

📦 Step 3: Install Skudonet CE
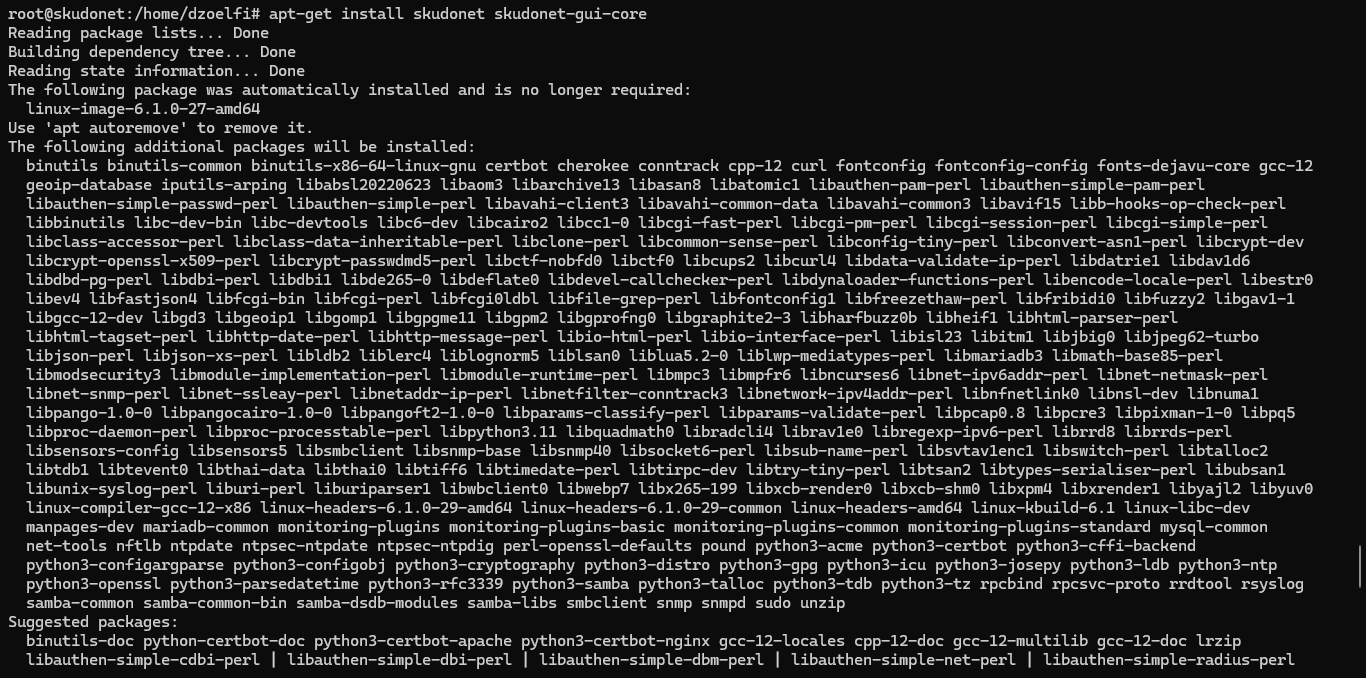
Now install Skudonet CE using apt.
1
sudo apt install skudonet skudonet-gui-core -y
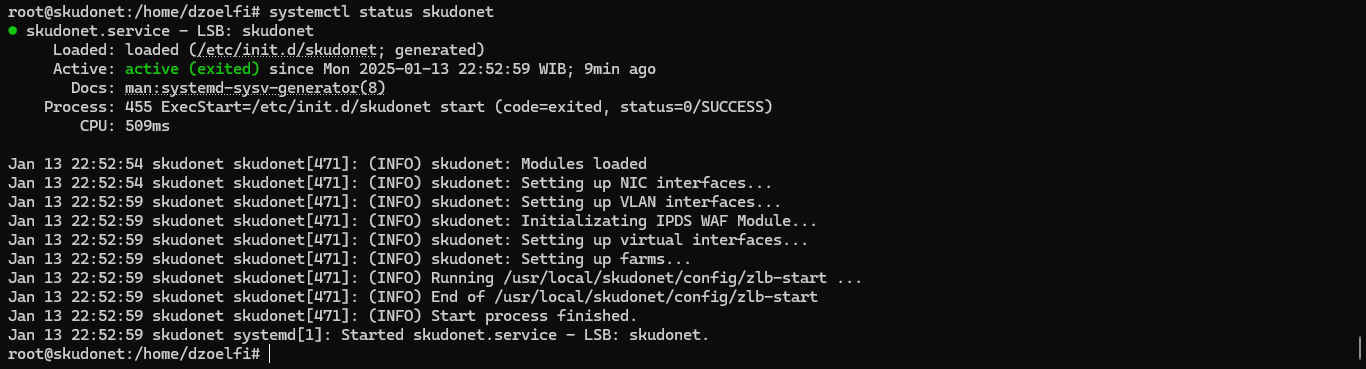
Enable and start the Skudonet service:
1
2
sudo systemctl enable skudonet
sudo systemctl start skudonet
🌐 Step 4: Access the Web Interface
Open your browser and navigate to:
1
https://<your-server-ip>:444
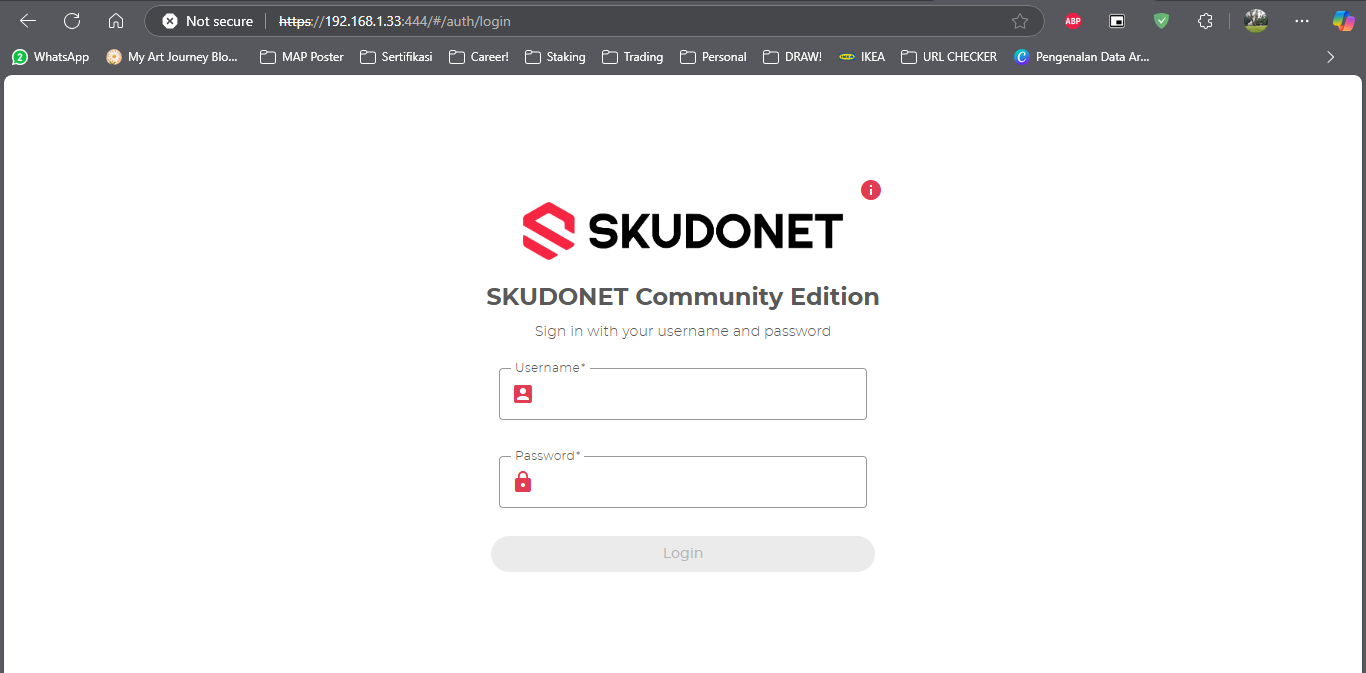
⚠️ The SSL certificate is self-signed. You may need to bypass browser warnings.
Login with the root credentials, if not set yet you can reset it first:
- Username:
root - Password:
password
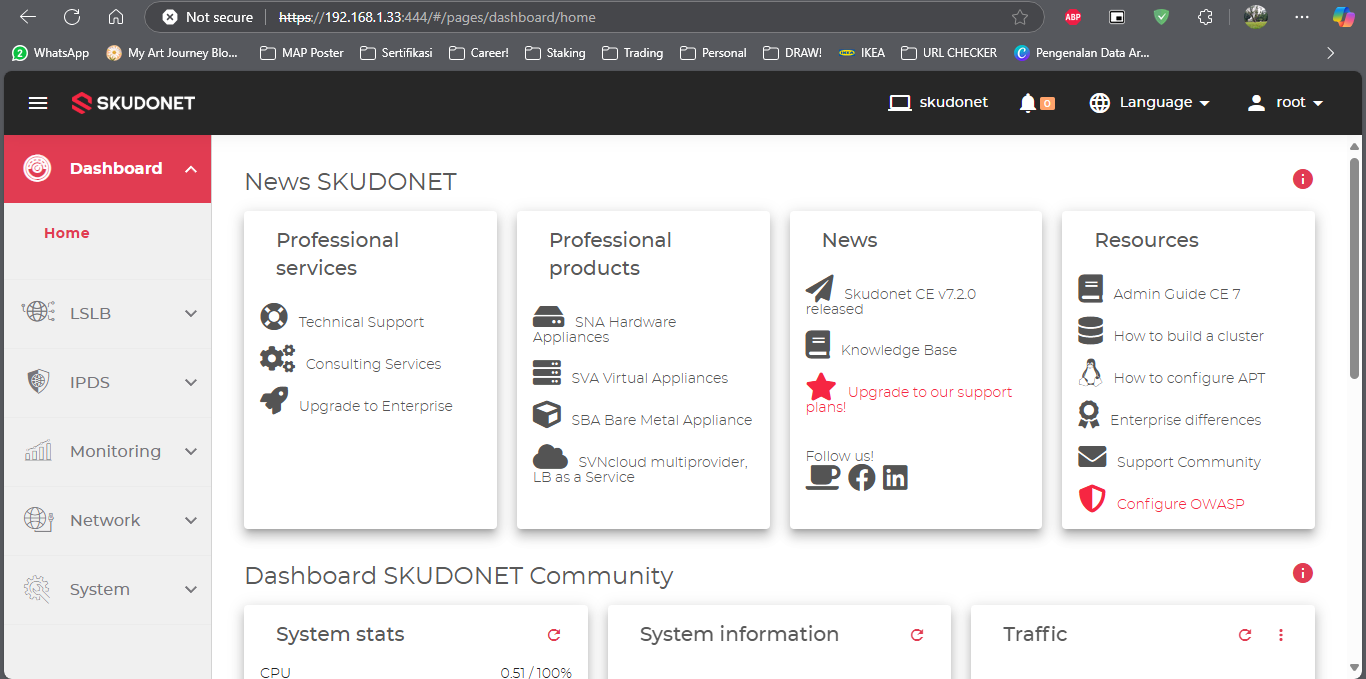
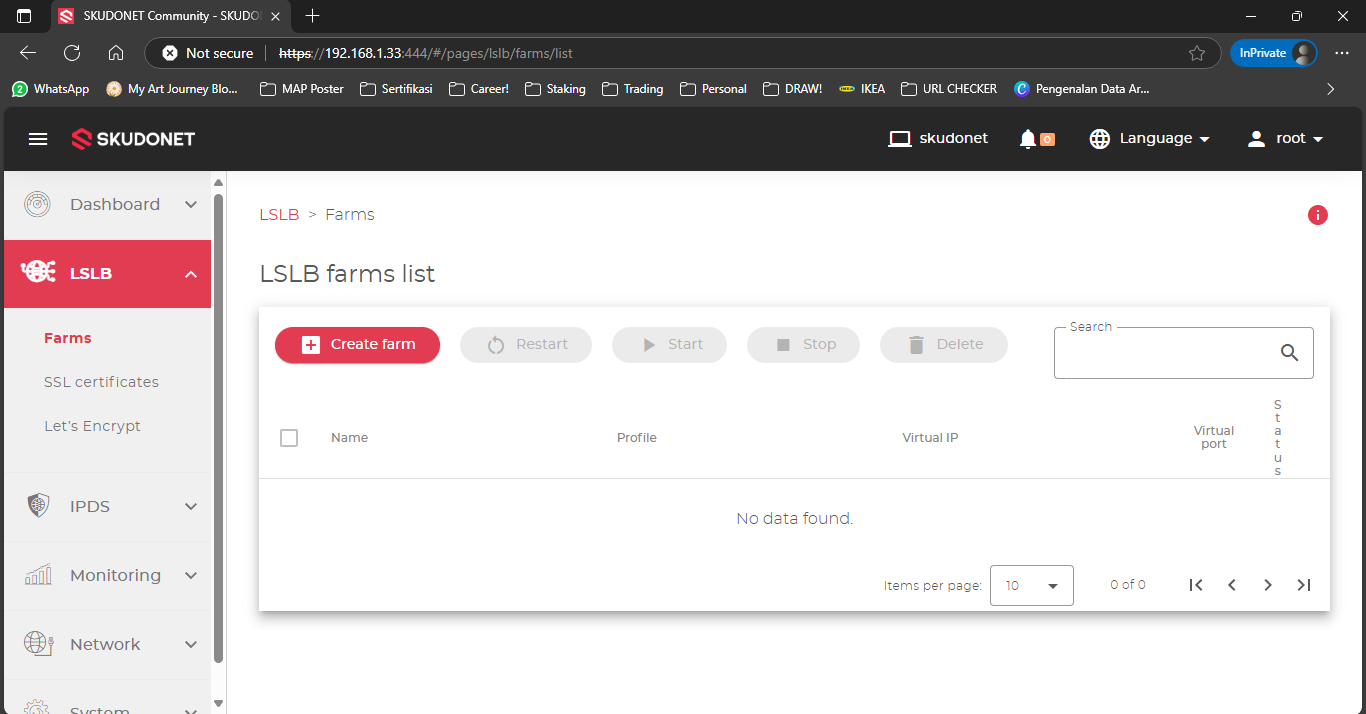
🧪 Step 5 (Optional): Basic Load Balancing Setup
Once inside the dashboard, you can:
- Create a Farm to manage incoming traffic
- Choose between L4xNAT or HTTP farm types
- Add backend servers for load balancing
- Configure health checks and persistence
Example: You can balance HTTP traffic between two web servers (e.g.,
192.168.1.101and192.168.1.102) with round-robin.
🛡️ Extra Features Worth Exploring
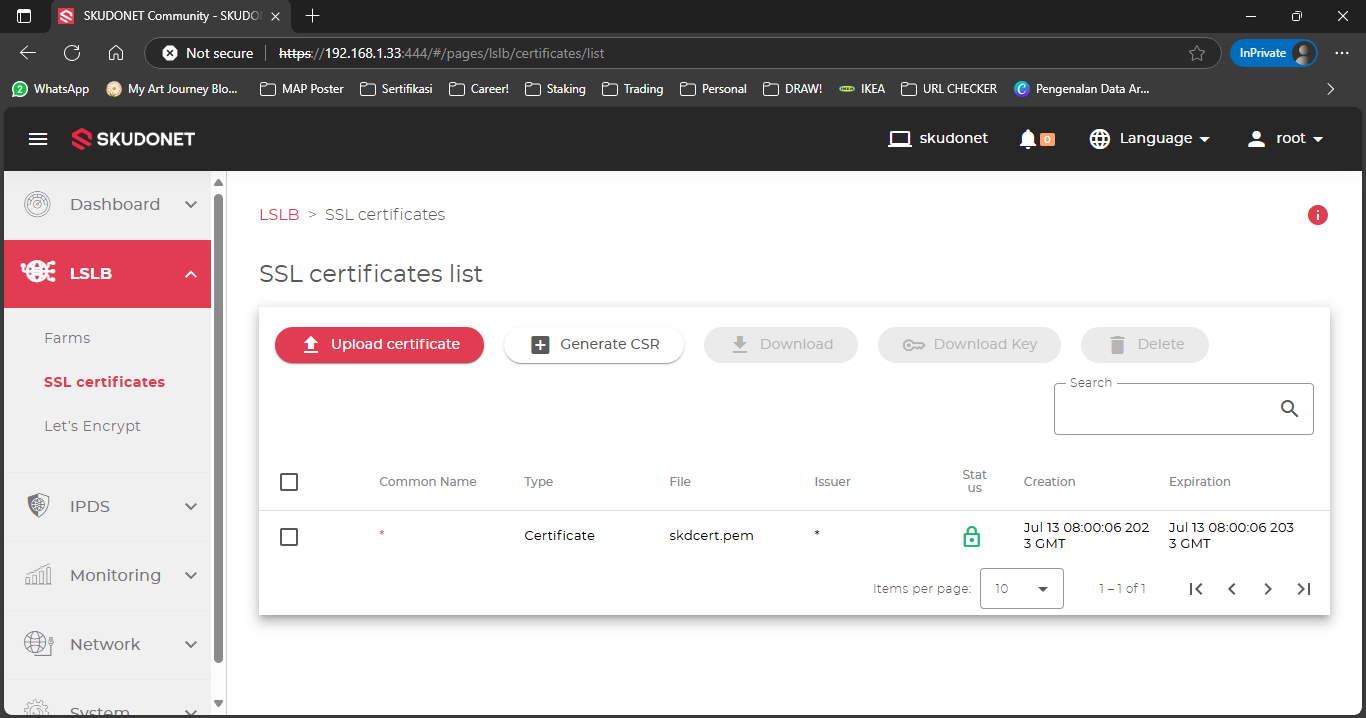
- SSL Offloading
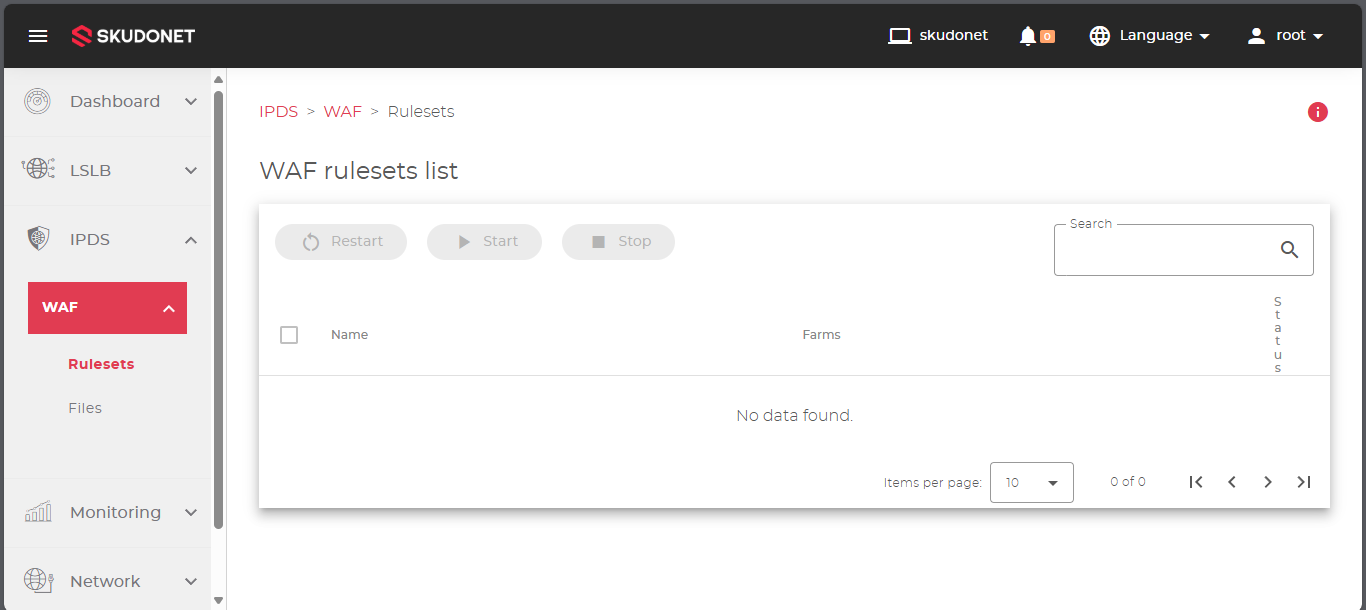
- Web Application Firewall (WAF)
- High Availability Clustering (HA)
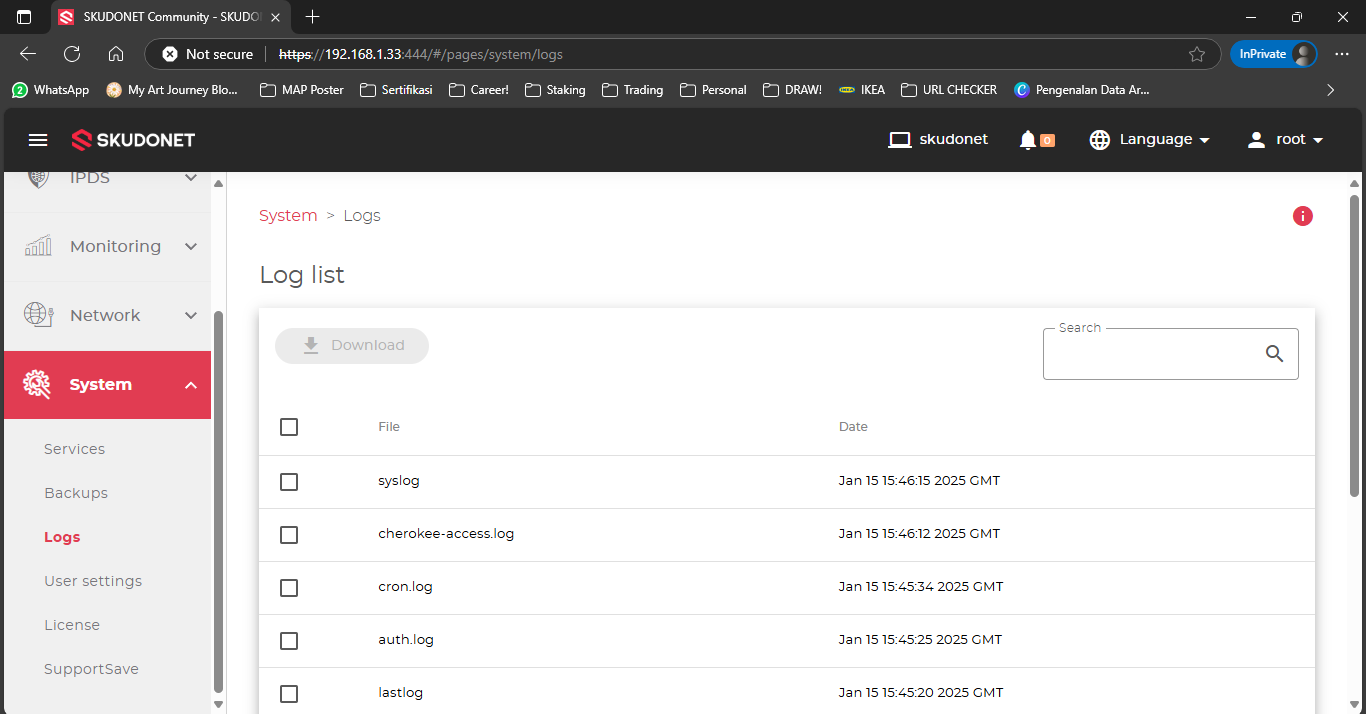
- Advanced Monitoring and Logs
- API Access for automation
✅ Conclusion
Skudonet CE makes deploying a reliable and secure load balancer easier than ever, especially for Linux users. In this guide, you’ve installed it on Debian 12 and accessed its web dashboard. With just a few more clicks, you can begin routing and protecting your application traffic.
If you’re looking to scale your infrastructure or simply want to learn load balancing, Skudonet CE is a great place to start.
📚 Further Reading
Have questions or ideas to share? Drop a comment or reach out on the community forums!