Block Ads with Pi-hole on Armbian + Docker
Tired of intrusive ads and trackers? Don’t worry, you’re on right place. In this tutorial, we’ll install Pi-hole on an Armbian-powered device (like Orange Pi Zero 3) using Docker. Pi-hole acts as a DNS sinkhole, blocking ad domains network-wide. Let’s check this out!
📦 Requirements
- Device with Armbian OS and Docker installed
- Access to terminal/SSH
- Basic understanding of networking
If you haven’t set up Armbian and Docker yet, check out my previous guide: Install Armbian OS and Docker on Orange Pi Zero 3
🚀 Step-by-Step Setup
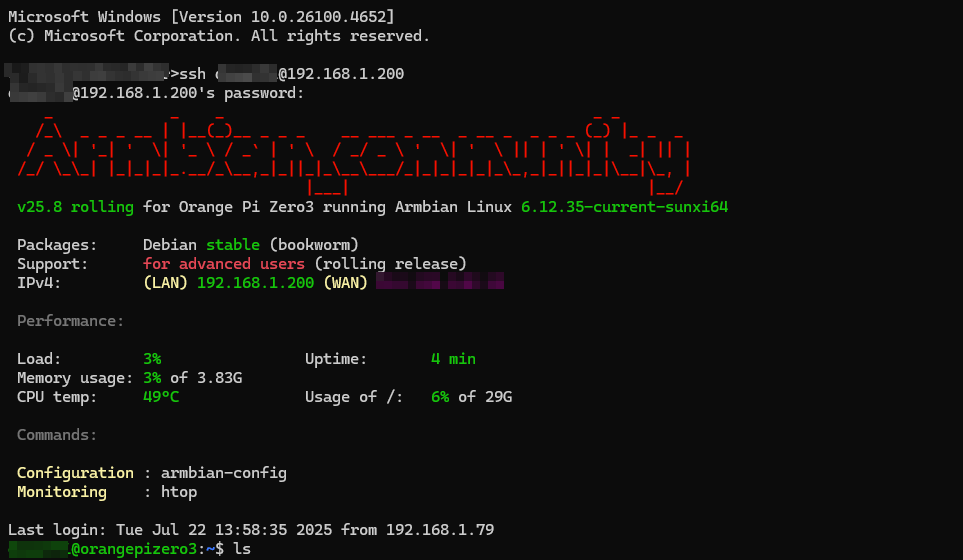
📁 1. Create Config Directory
1
2
3
mkdir pihole
cd pihole
mkdir config

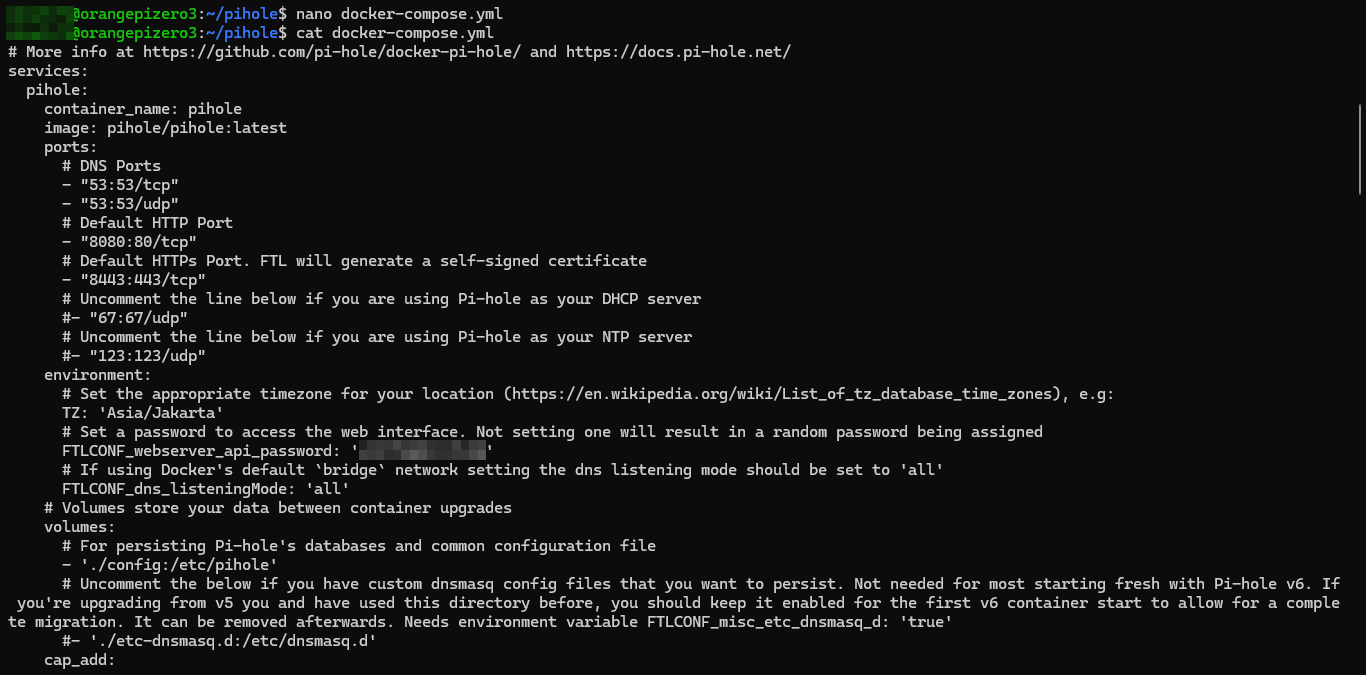
🧾 2. Create docker-compose.yml
Create a docker-compose.yml file inside the ~/pihole directory:
1
2
3
4
5
6
7
8
9
10
11
12
13
14
15
16
17
18
19
20
21
22
23
24
25
26
27
28
29
30
31
32
33
34
35
36
37
38
39
# More info at https://github.com/pi-hole/docker-pi-hole/ and https://docs.pi-hole.net/
services:
  pihole:
    container_name: pihole
    image: pihole/pihole:latest
    ports:
      # DNS Ports
      - "53:53/tcp"
      - "53:53/udp"
      # Default HTTP Port
      - "8080:80/tcp"
      # Default HTTPs Port. FTL will generate a self-signed certificate
      - "8443:443/tcp"
      # Uncomment the line below if you are using Pi-hole as your DHCP server
      #- "67:67/udp"
      # Uncomment the line below if you are using Pi-hole as your NTP server
      #- "123:123/udp"
    environment:
      # Set the appropriate timezone for your location (https://en.wikipedia.org/wiki/List_of_tz_database_time_zones), e.g:
      TZ: 'Asia/Jakarta'
      # Set a password to access the web interface. Not setting one will result in a random password being assigned
      FTLCONF_webserver_api_password: 'changeme'
      # If using Docker's default `bridge` network setting the dns listening mode should be set to 'all'
      FTLCONF_dns_listeningMode: 'all'
    # Volumes store your data between container upgrades
    volumes:
      # For persisting Pi-hole's databases and common configuration file
      - './config:/etc/pihole'
      # Uncomment the below if you have custom dnsmasq config files that you want to persist. Not needed for most starting fresh with Pi-hole v6. If you're upgrading from v5 you and have used this directory before, you should keep it enabled for the first v6 container start to allow for a complete migration. It can be removed afterwards. Needs environment variable FTLCONF_misc_etc_dnsmasq_d: 'true'
      #- './etc-dnsmasq.d:/etc/dnsmasq.d'
    #cap_add:
      # See https://github.com/pi-hole/docker-pi-hole#note-on-capabilities
      # Required if you are using Pi-hole as your DHCP server, else not needed
      #- NET_ADMIN
      # Required if you are using Pi-hole as your NTP client to be able to set the host's system time
      #- SYS_TIME
      # Optional, if Pi-hole should get some more processing time
      #- SYS_NICE
    restart: unless-stopped
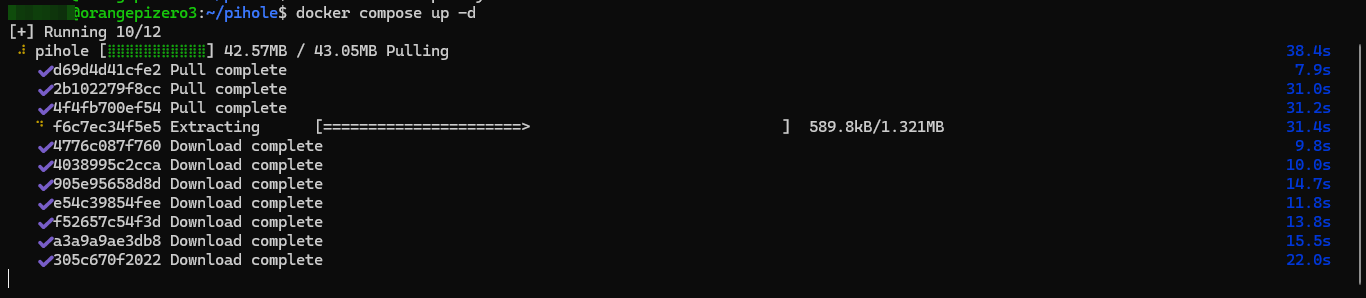
▶️ 3. Start Pi-hole
Run the following commands:
1
2
cd ~/pihole
docker compose up -d

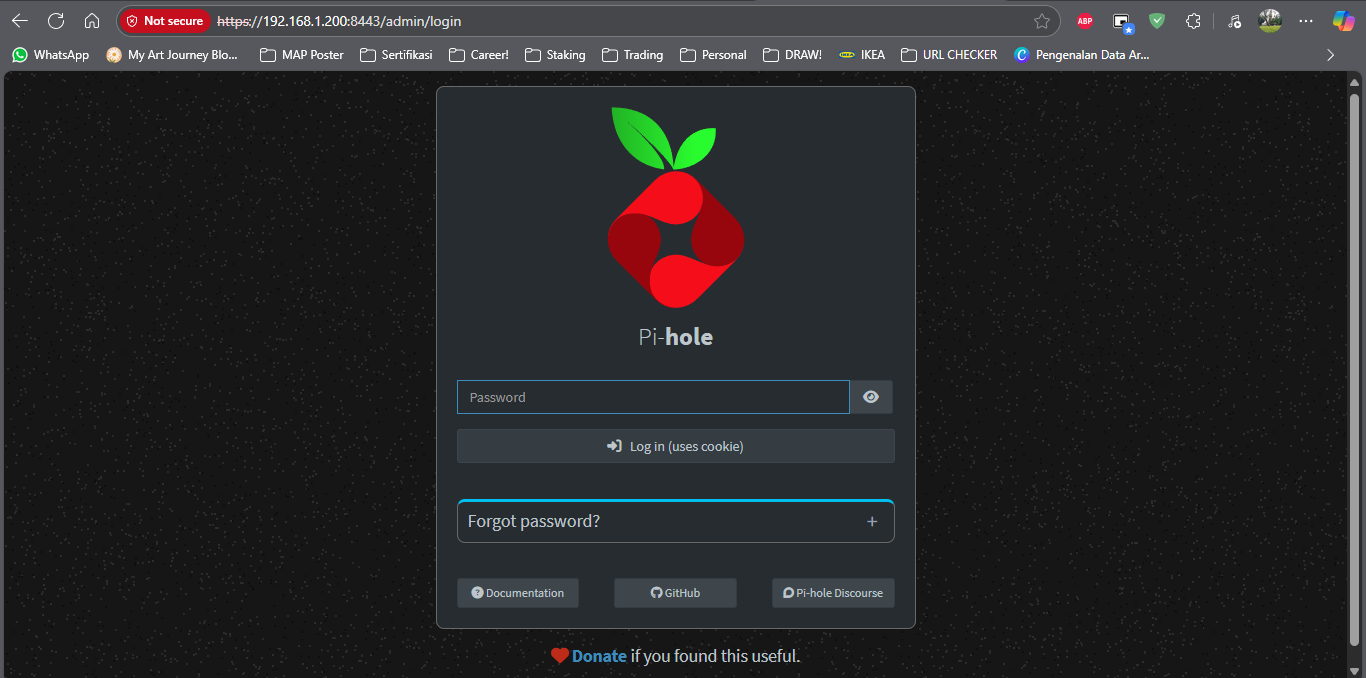
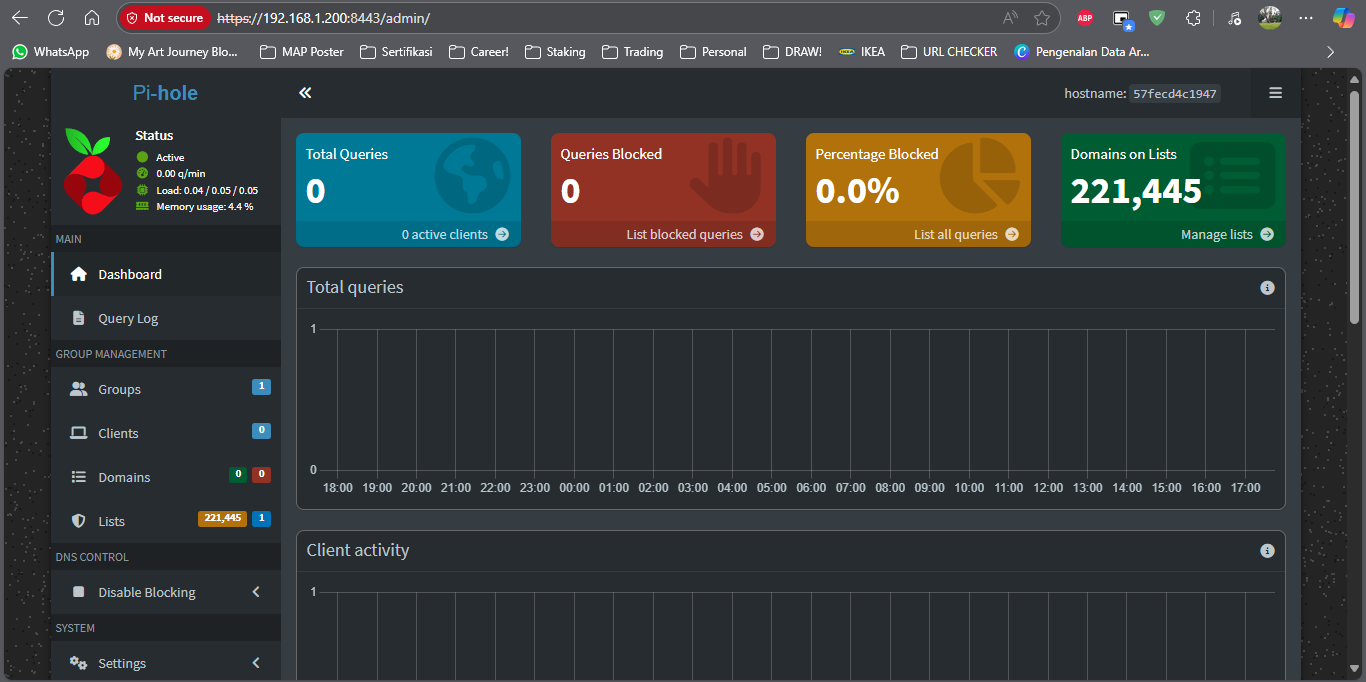
🌐 4. Access Pi-hole Dashboard
Open your browser and go to:
1
https://<your-device-ip>:8443/admin
Login using the password you set in FTLCONF_webserver_api_password.
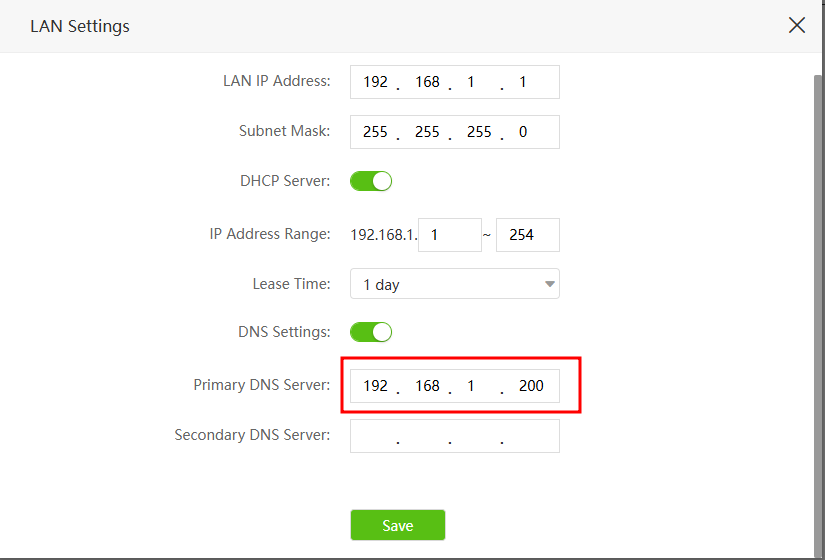
🌍 5. Change Router DNS
Set your router’s primary DNS server to your Armbian device IP.
All devices on your network will use Pi-hole for DNS and benefit from ad blocking.
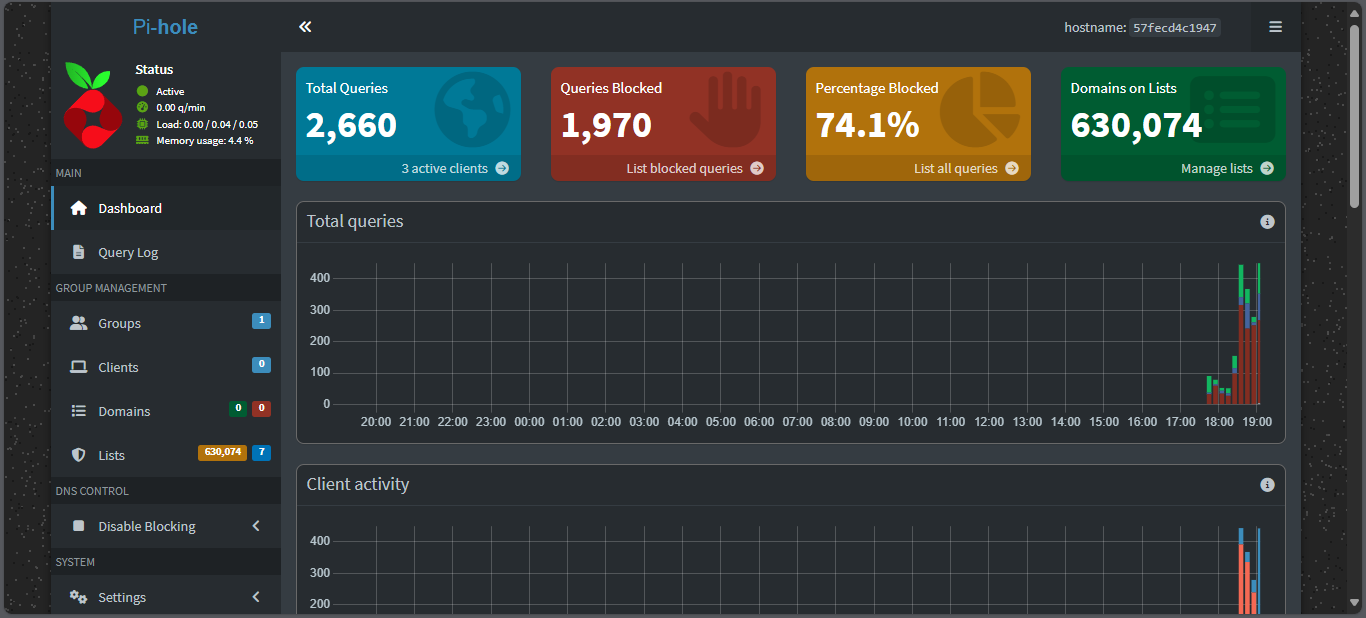
😎 6. Enjoy Ad-Free Browsing
That’s it! Pi-hole will now silently block ads and trackers across your network. You can further customize blocklists, statistics, and query logs from the web UI.
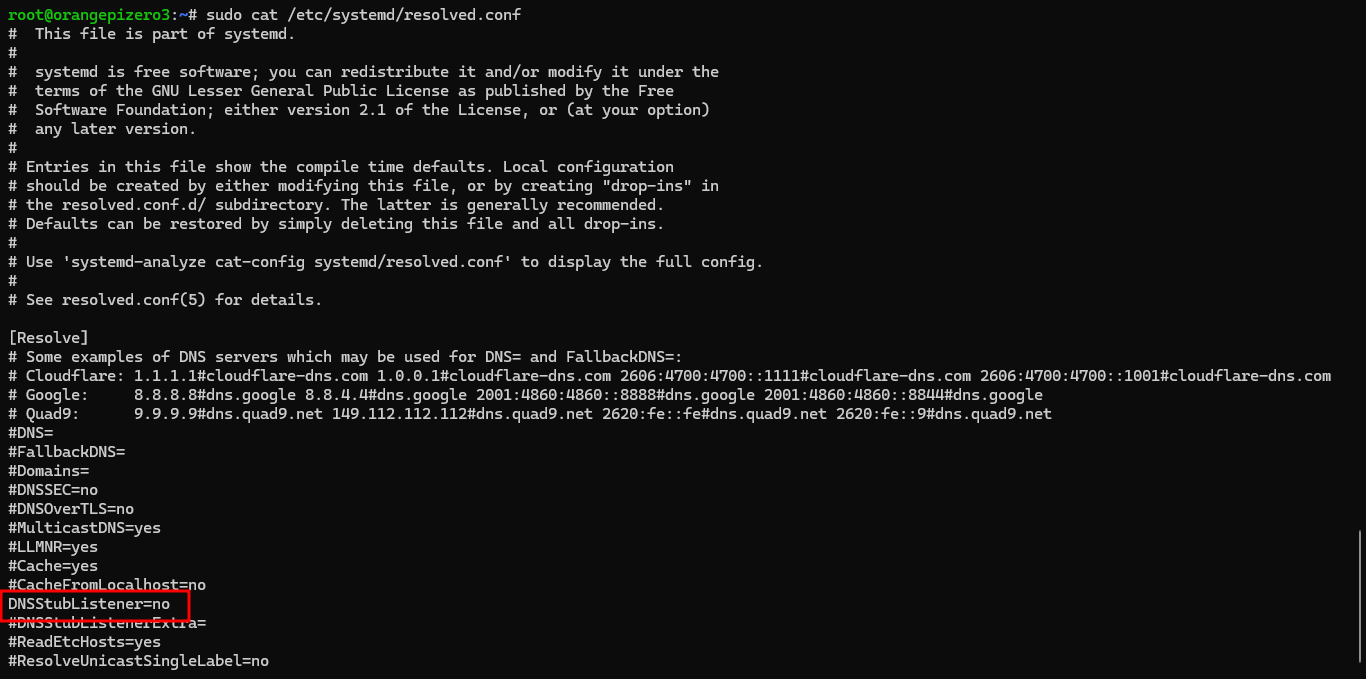
⚠️ Common Issue: Port 53 Already in Use
If Docker Pi-hole fails to start because port 53 is already in use, it’s likely due to systemd-resolved.
🛠️ Fixing systemd-resolved Conflict
-
Edit the config file:
1
sudo nano /etc/systemd/resolved.conf -
Uncomment and set:
1
 DNSStubListener=no
-
Restart the service:
1
 sudo systemctl restart systemd-resolved
Now try running docker compose up -d again.
🔁 What’s Next?
Want more from your Orange Pi? Stay tuned for future posts—like setting up Home Assistant, local DNS entries, and reverse proxy with HTTPS on the same box. Stay tuned for more Armbian and Docker tutorials!